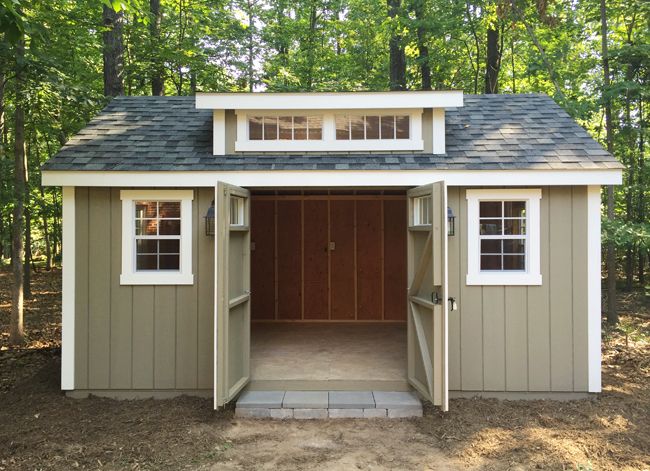
Step#1: Clear Out the Entire Shed
I know you hate to even think about cleaning that junk loaded shed that contains piles and piles of things which you don’t can neither keep inside your place nor want to throw off. I know you still want to procrastinate and want to do it tomorrow but trust me tomorrow never comes! So stand up and get to mission clean up! I know you’re confused about where to start from. Don’t worry you have my back! Firstly get the entire stuff stored in your shed out in your lawn.
Step#2: Hose Down the Inside And Outside Of the Shed
I know you’re probably coughing by now because of the layers and layers of dust that has accumulated inside the shed over these months. So get your hose ready and start hosing the water inside the entire shed. Make sure you leave areas where there is any wiring because you obviously don’t want to have nay electric shocks. Once you’re done with hosing the inside now hose the outside of your shed because just look at the amount of bird poops on your shed. Disgusted right?
Step#3: Scrub off The Stubborn Dust
I know even after the intense hosing session there’s still that stubborn dust layer that just won’t go. For that mix cleansing solutions and water together and soak a rag into it and start the struggle of scrubbing that remaining grime.
Step#4: Wash the Windows with Your Hands
Now pay a closer look at your windows. They’re dirty right? Now move towards cleaning them. Now put that hose down, you have to do this business using your hands because the high water pressure in your hose can crack the windows. So start cleaning the inside and outside of the windows.
If you want to remove your shed, it’s best to hire Austin shed removal services.
Step#5: Dry the Shed and Sort Out the Stuff
Now give rest to your shed and let it dry in the sunlight. Meanwhile you start sorting out the stuff you laid on your lawn. Keep all the thing you need to keep on one side and all the things that aren’t so important and need to dispose of on the other.
Step#6: Use the Trash Bag
Now put the whole throw away pile in the garbage bags and put the recyclable items in another bag and take it to the local recycler or give it to any of your friend or family member who needs it.
Step#7: Sort the Stuff Again
Now resort your keeping pile and answer the following question when examining each of the item in it:
Will you fix this item within the next 5-6 months?
Will you use this item anytime in the next six months?
Do you really need it?
If the answer to the above questions is yes then keep them otherwise take a large garbage bin and throw them in. Trust me less stuff means less cleaning effort.
Step#8: Put the Stuff Back In the Shed
Now make sections in your shed like a gardening tools section, wood section and etc and start putting things in the appropriate section. I know you’re proud of yourself after looking at that shiny, sparkling, organized shed.
Step#9: Treat Yourself with a Hot Cup Of Coffee.
Now sit back and relax with a cup of coffee you deserve it after all the effort you have invested in cleaning the nightmare.
Again, if your shed is beyond saving, the best thing to do is to let it go. Use professional Austin shed removal services and get it removed. Professional service provider companiesknow how to tear down and remove sheds. They may help you with other related stuff too. So, they recommended.

